How do I change DPI on my mouse?
- Use the Dedicated DPI Button
- Change DPI Through Mouse Software
- Adjust DPI Settings in Windows (Indirect Method)
- Check DPI Indicators on Your Mouse
- Set a Fixed DPI for Consistency
- Test and Find What Feels Right
- Keep Your Setup Consistent Over Time

DPI (dots per inch) controls how sensitive your mouse is—higher DPI means the cursor moves farther with less physical movement, while lower DPI gives you more precise control. Changing DPI is one of the quickest ways to adjust how your mouse feels, whether you’re gaming or just using your PC.
The exact method depends on your mouse model, but most mice offer a few simple ways to switch DPI once you know where to look.
1. Use the Dedicated DPI Button
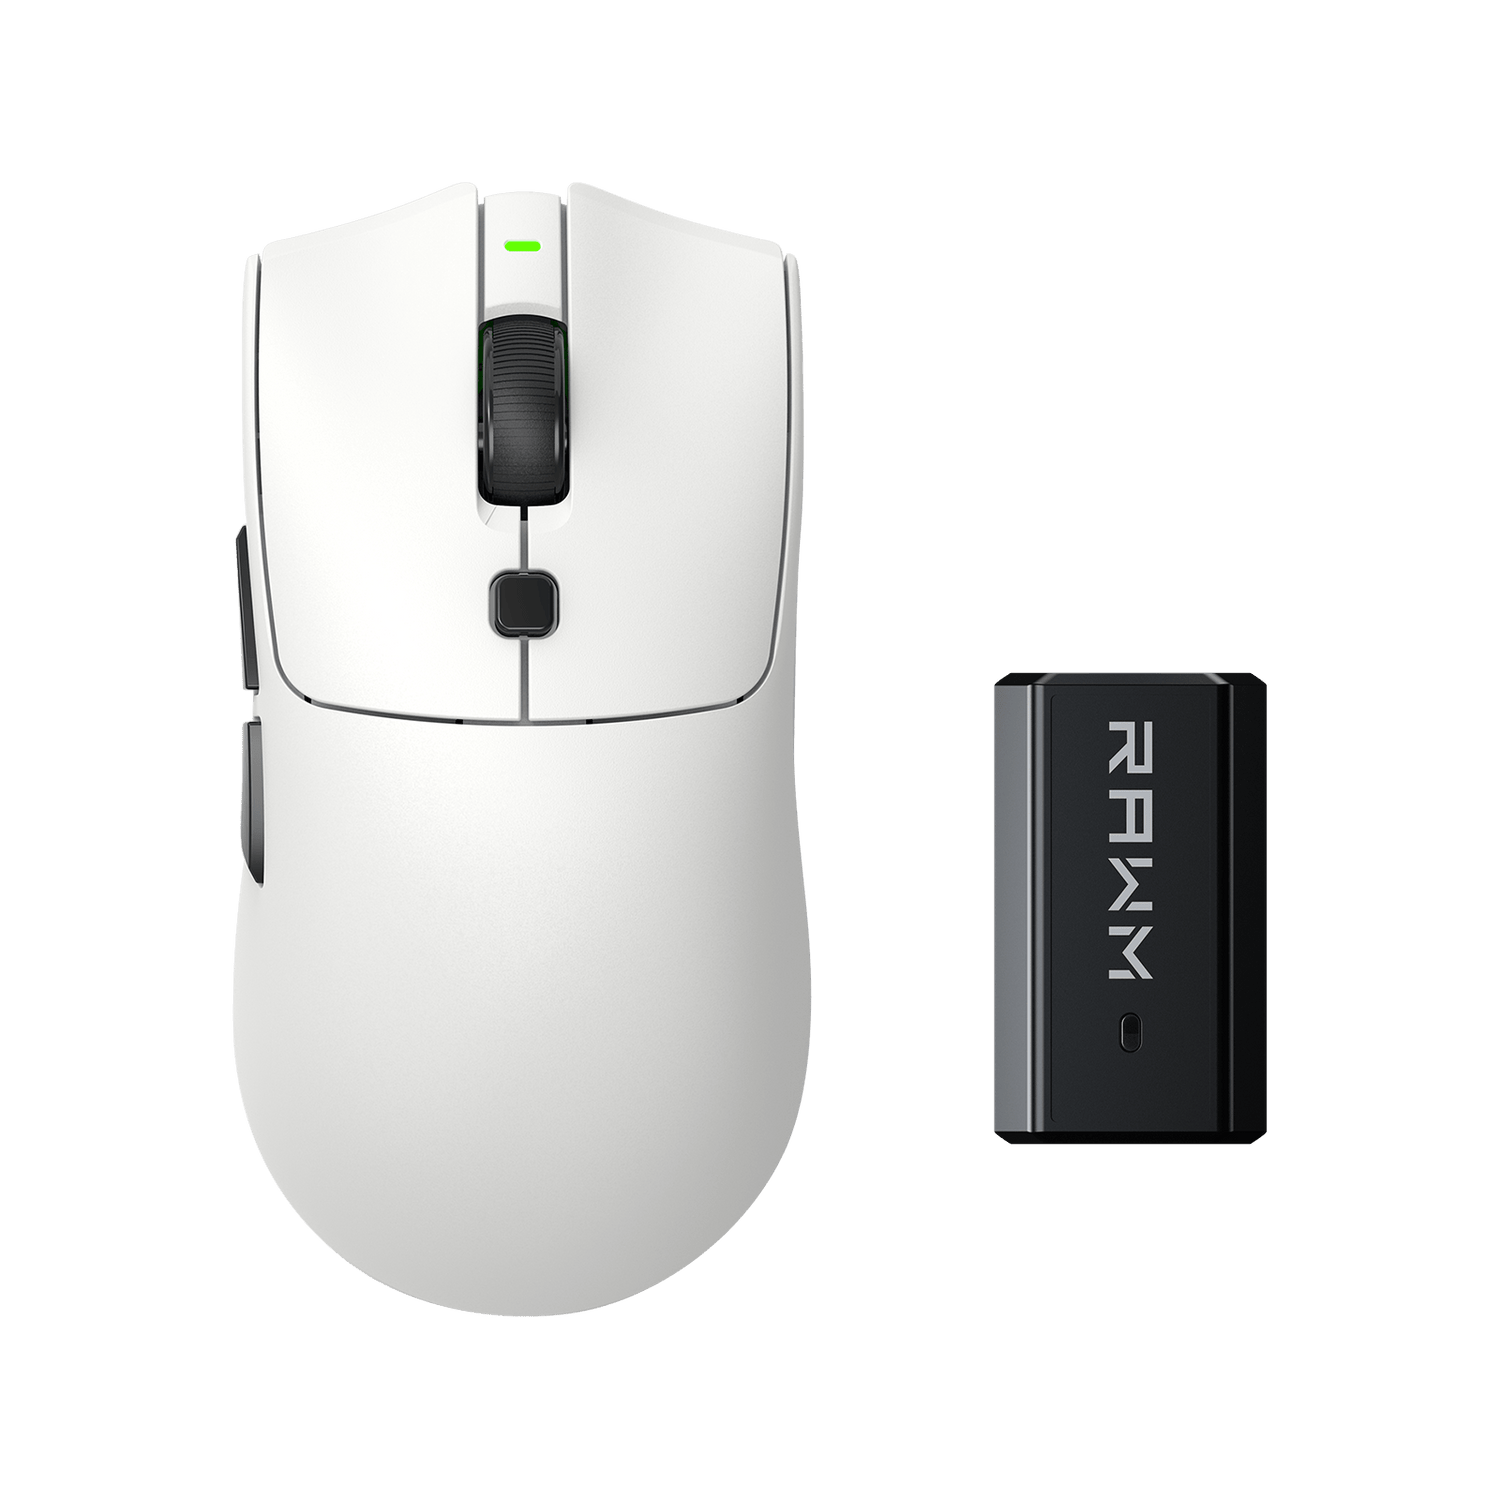
Many mice come with a built-in DPI button, usually located near the scroll wheel.
Pressing this button cycles through preset DPI levels. Each press switches to a different sensitivity stage.
You may notice:
-
A change in cursor speed
-
LED color changes indicating different DPI levels
This is the fastest way to adjust DPI on the fly without opening any software.
2. Change DPI Through Mouse Software
Most gaming mice have dedicated software that lets you customize DPI precisely.
Within the software, you can:
-
Set exact DPI values (e.g., 400, 800, 1600)
-
Create multiple DPI stages
-
Assign DPI switching buttons
This method gives you full control and lets you fine-tune sensitivity instead of relying on presets.
If your mouse supports it, this is the most accurate way to set DPI.
3. Adjust DPI Settings in Windows (Indirect Method)
Windows itself doesn’t directly change DPI, but it does affect cursor speed.
You can go to:
-
Mouse Settings → Pointer Speed
This changes how fast your cursor moves, but it’s not the same as true DPI adjustment.
For consistent performance—especially in games—it’s usually better to leave Windows pointer speed at default and adjust DPI through your mouse instead.

4. Check DPI Indicators on Your Mouse
Some mice include visual indicators for DPI levels.
These can be:
-
LED color changes
-
Number of lights lit
-
On-screen notifications (if software supports it)
Each color or indicator usually corresponds to a specific DPI setting defined in the software.
Learning these indicators helps you quickly recognize your current DPI without guessing.
5. Set a Fixed DPI for Consistency
While it’s convenient to switch DPI, many users prefer sticking to one setting.
Common choices include:
-
400 DPI
-
800 DPI
-
1600 DPI
Using a consistent DPI helps build muscle memory and makes your movements more predictable.
Instead of constantly switching DPI, you can adjust in-game sensitivity to fine-tune your experience.
6. Test and Find What Feels Right
There’s no single “best” DPI—it depends on your preference and usage.
To find the right setting:
-
Try different DPI levels
-
Move your mouse naturally
-
See which feels comfortable and controllable
If your cursor feels too fast, lower DPI. If it feels too slow, increase it.
Small adjustments can make a big difference in how your mouse feels.
7. Keep Your Setup Consistent Over Time
Once you find a DPI that works, it’s best to stick with it.
Changing DPI frequently can make your movements feel inconsistent, especially in games that rely on precision.
Many setups focus on maintaining stable input behavior by keeping DPI fixed and adjusting other variables like in-game sensitivity and surface conditions. Some users also prioritize consistent tracking environments and reliable hardware setups such as the Leviathan V4 to ensure smooth and predictable control.
Over time, consistency matters more than constantly tweaking numbers.
Have you been switching DPI often, or are you trying to find one setting to stick with?
>>See also Do I need a specific DPI for 144Hz or 240Hz monitor? >>>>>