How to connect wireless gaming mouse?
1. Understanding How to Connect Wireless Gaming Mouse Properly
2. Step-by-Step Guide on How to Connect Wireless Gaming Mouse Properly via 2.4GHz Dongle
3. How to Connect Wireless Gaming Mouse Properly via Bluetooth
4. Troubleshooting Common Issues When Learning How to Connect Wireless Gaming Mouse Properly
5. How to Connect Wireless Gaming Mouse Properly on Different Devices
6. Example: RAWM ER21PRO and How to Connect Wireless Gaming Mouse Properly
7. Maintaining a Stable Wireless Connection After Setup

If you’ve just bought a new mouse and are wondering how to connect wireless gaming mouse properly, you’re not alone. Many gamers experience confusion when setting up their first wireless mouse — from pairing issues to software configuration. A correctly connected wireless mouse can make all the difference in responsiveness, accuracy, and overall gaming comfort.
1. Understanding How to Connect Wireless Gaming Mouse Properly
Before diving into connection steps, it’s essential to understand how wireless gaming mice communicate.
| Connection Type | Description | Use Case |
|---|---|---|
| 2.4GHz Wireless (Dongle) | Uses a USB receiver for high-speed data transfer. | Best for gaming; lowest latency. |
| Bluetooth | Connects directly to the device without a dongle. | Ideal for laptops and casual use. |
| Dual-Mode | Switch between 2.4GHz and Bluetooth. | Great flexibility for both gaming and work. |
When learning how to connect wireless gaming mouse properly, always identify your mouse’s supported modes. High-end gaming models often include both options, providing flexibility depending on your device setup.
2. Step-by-Step Guide on How to Connect Wireless Gaming Mouse Properly via 2.4GHz Dongle
Most modern gaming mice use a 2.4GHz wireless receiver because it provides near-zero latency — almost identical to wired performance. Follow these steps to master how to connect wireless gaming mouse properly via dongle connection:
-
Insert the Dongle:
Plug the USB receiver into your PC or laptop’s USB-A or USB-C port. -
Connect the Mouse and your PC:
Connect the mouse and your computer with another Type-C cable. Turn on your mouse.
-
Open Web Hub, Automatic Pairing:
Most mice auto-pair with the dongle within a few seconds. The LED may blink once paired. -
Install PC Hub Software (if available):
For example, installing your mouse’s configuration software can unlock advanced features such as DPI settings and polling rate adjustments. -
Test Movement and Clicks:
Move your cursor to confirm the mouse is responding without delay.
💡 Pro Tip: If your mouse isn’t recognized, plug the receiver into another port or check your operating system’s device manager.
3. How to Connect Wireless Gaming Mouse Properly via Bluetooth
Bluetooth mode offers portability without needing an external dongle. It’s slightly higher latency than 2.4GHz but great for general use.
Here’s how to connect wireless gaming mouse properly using Bluetooth:
-
Activate Pairing Mode:
Hold the Bluetooth or pairing button (usually at the bottom) for 3–5 seconds until the LED starts flashing. -
Open Bluetooth Settings:
-
On Windows: Go to Settings → Bluetooth & Devices → Add Device.
-
On macOS: Go to System Settings → Bluetooth → Connect.
-
-
Select Your Mouse:
Look for the mouse name in the list (e.g., ER21PRO Wireless Mouse) and click Pair. -
Wait for Connection Confirmation:
The LED light should stop blinking once the connection is stable. -
Test Latency and DPI Settings:
Ensure your movements feel smooth and responsive.
🧠 Note: For gaming, always disable system-level mouse acceleration in Windows or macOS for maximum accuracy.
4. Troubleshooting Common Issues When Learning How to Connect Wireless Gaming Mouse Properly
Even when you follow the right steps, issues can arise. Here’s a quick reference table for the most common connectivity problems:
| Issue | Possible Cause | Solution |
|---|---|---|
| Mouse not detected | Dongle not recognized | Reinsert dongle or try another port |
| Bluetooth not pairing | Low battery / already paired to another device | Recharge battery or reset connection |
| Laggy movement | Wireless interference / low battery | Move dongle closer or replace batteries |
| Cursor stutter | Polling rate misconfiguration | Reset software settings to default |
| Mouse disconnects randomly | Outdated firmware | Update mouse firmware via official software |
If you want to maintain consistent connection stability, keep your receiver within 1 meter of the mouse and away from USB 3.0 hubs that may cause radio interference.
5. How to Connect Wireless Gaming Mouse Properly on Different Devices
Not all platforms behave the same. Here’s how to master how to connect wireless gaming mouse properly across common operating systems:
| Device Type | Supported Connection | Steps Summary |
|---|---|---|
| Windows PC | 2.4GHz, Bluetooth | Plug receiver → Switch ON → Auto Pair |
| Mac | Bluetooth, 2.4GHz (via dongle) | Add via System Preferences |
| Gaming Laptop | Dual-mode | Choose 2.4GHz for gaming; Bluetooth for work |
| Steam Deck | Bluetooth or USB dongle (via dock) | Pair through Bluetooth settings |
| Consoles (PS5/Xbox) | Limited | 2.4GHz often works, but not all buttons supported |
This compatibility ensures that knowing how to connect wireless gaming mouse properly benefits not only PC gamers but also players using hybrid setups like the Steam Deck or portable consoles.
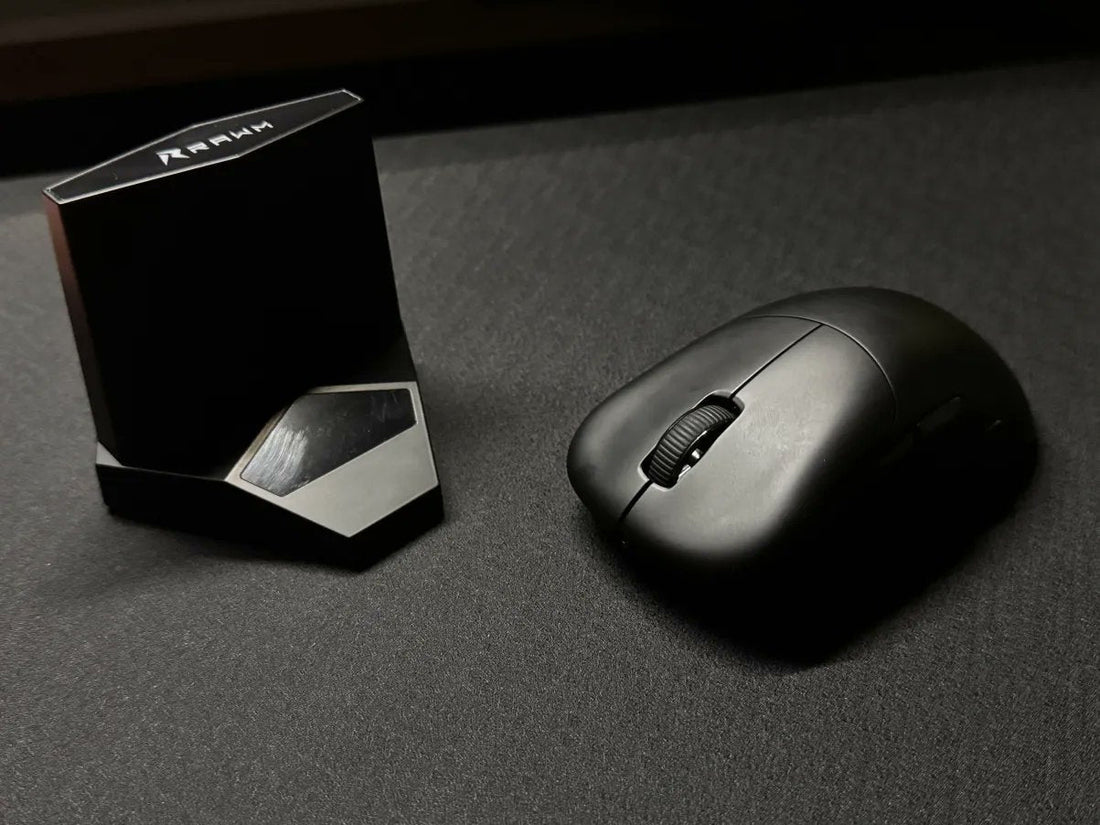
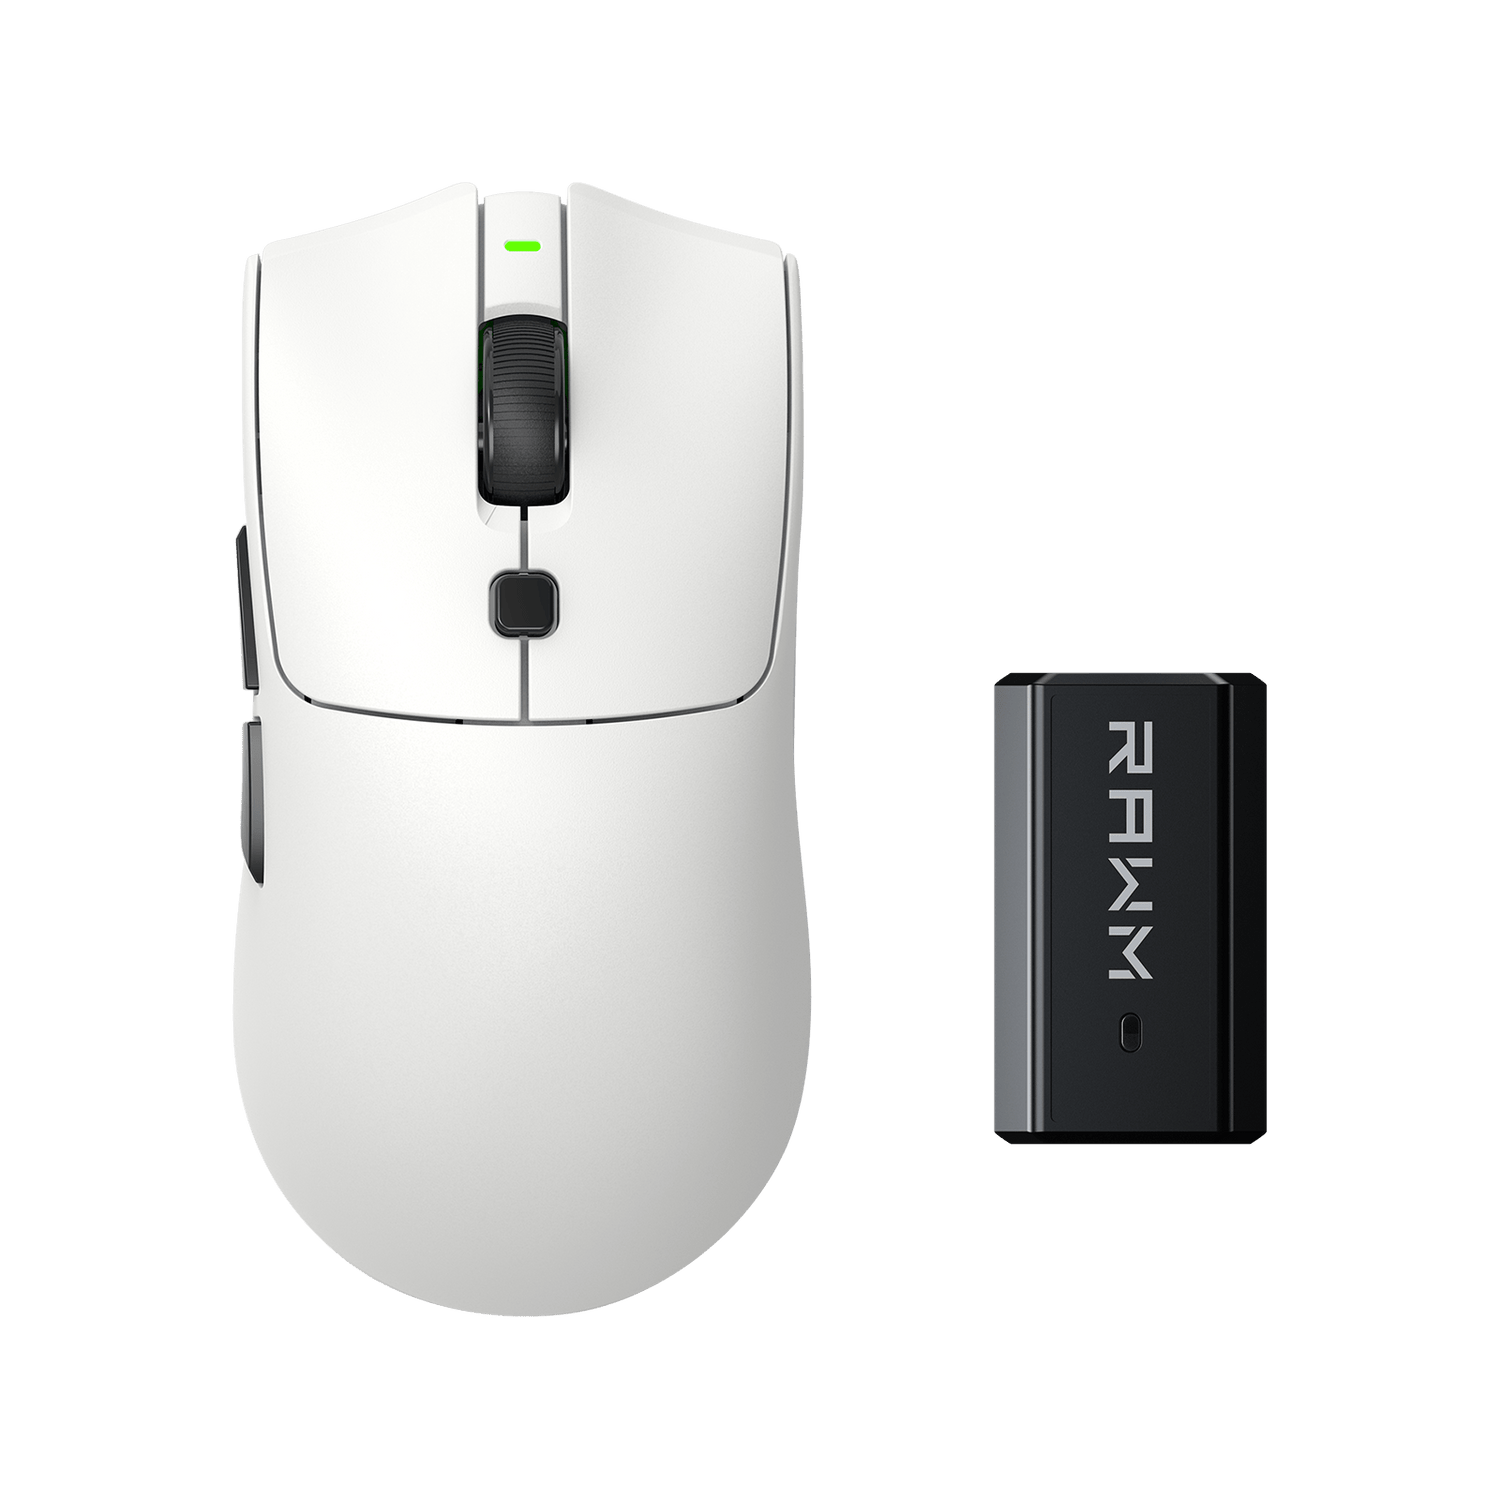
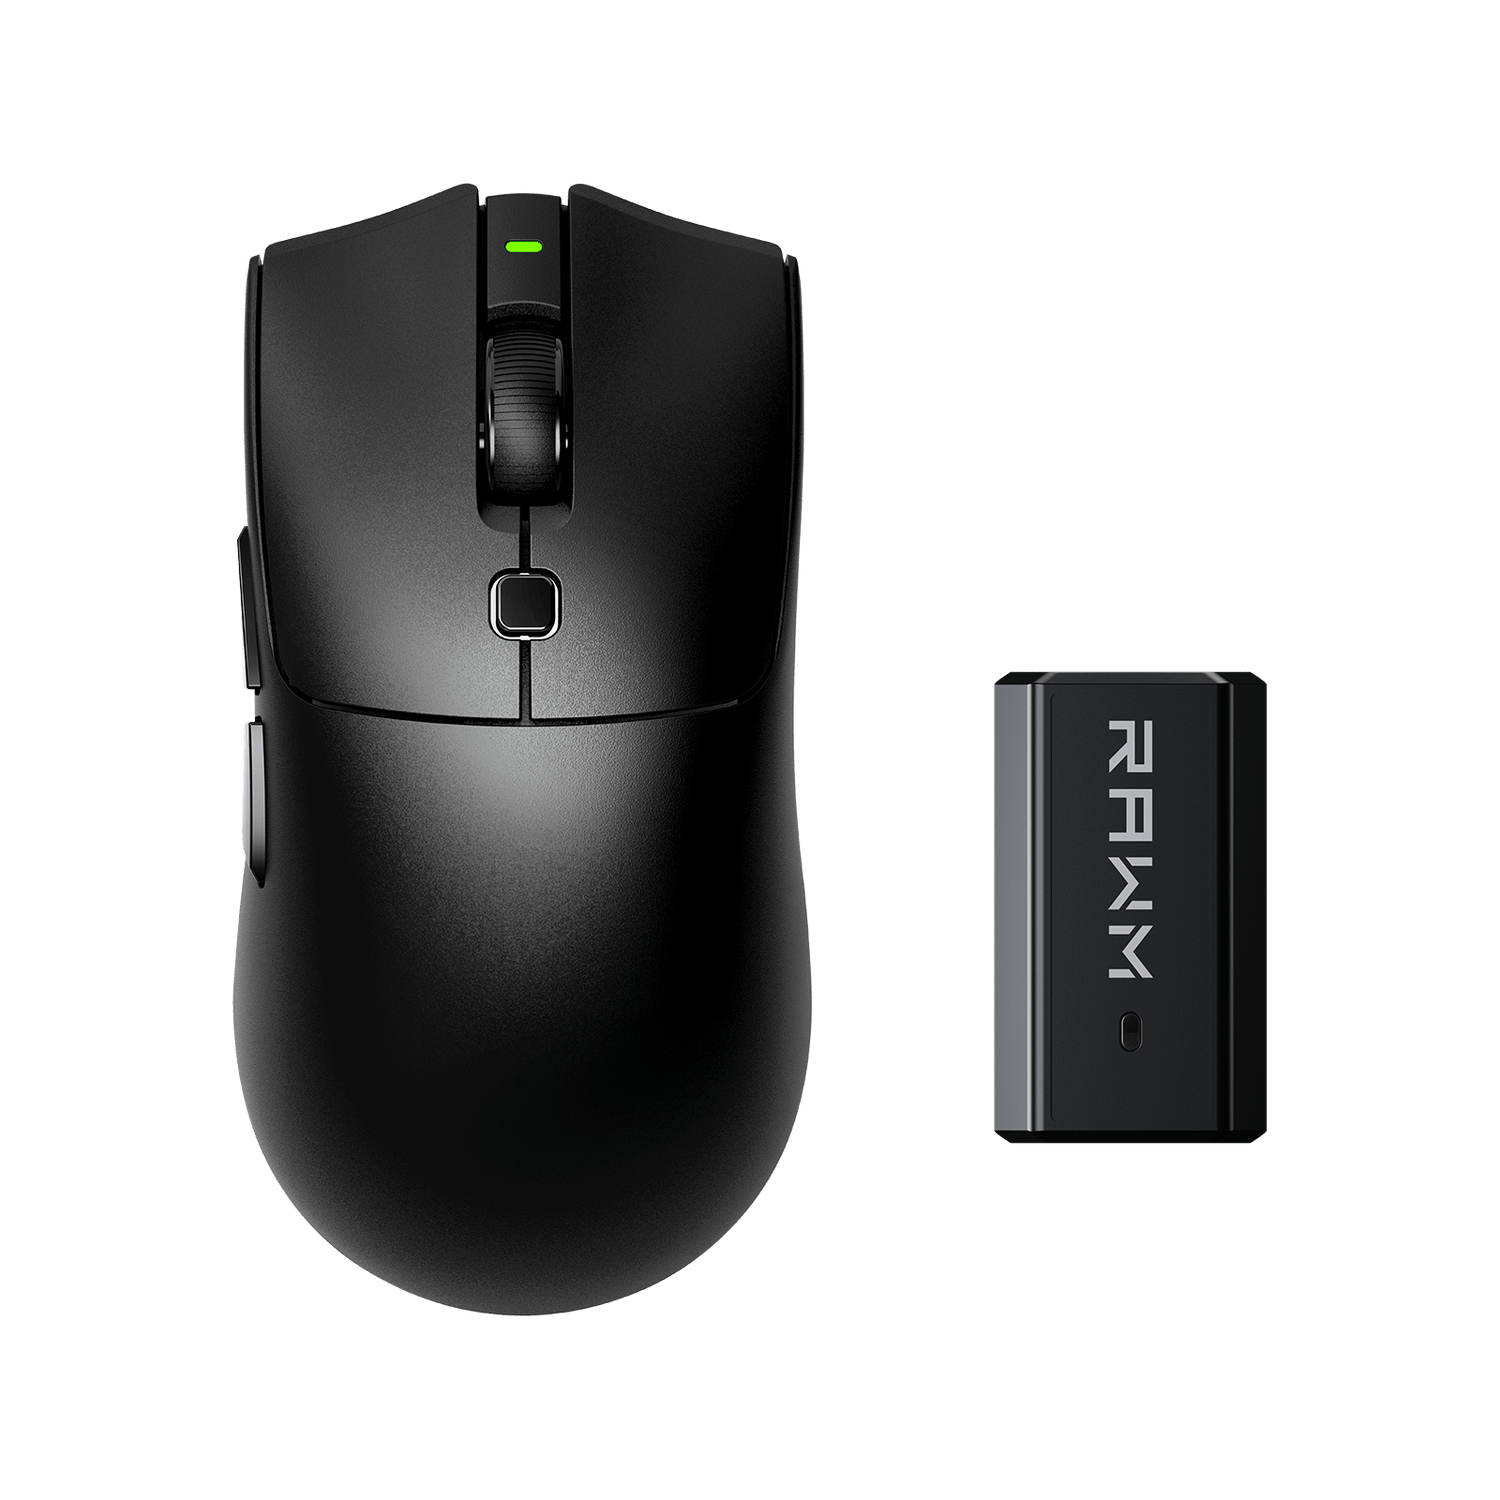
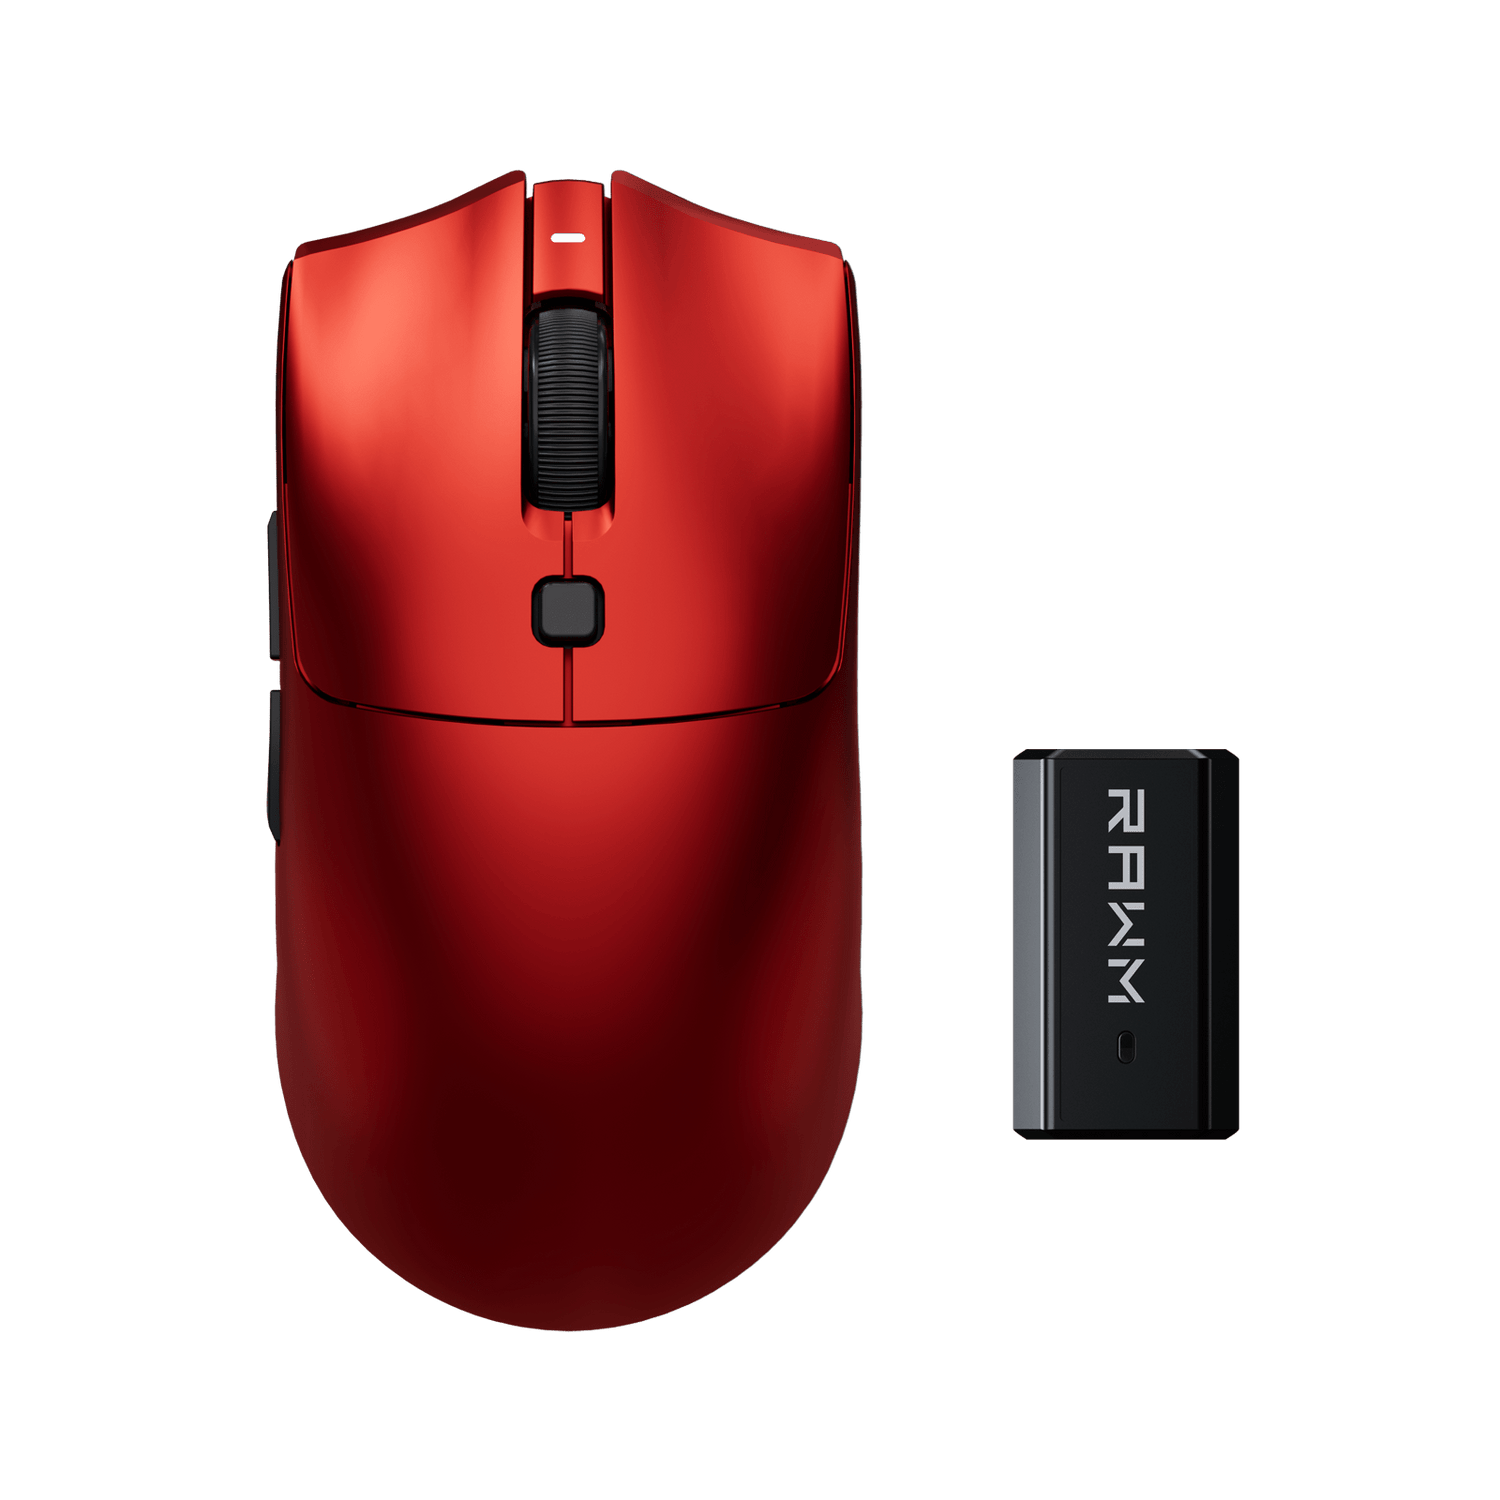
6. Example: RAWM ER21PRO and How to Connect Wireless Gaming Mouse Properly
Let’s use the RAWM ER21PRO as an example of excellent dual-mode connectivity.
The ER21PRO uses a PixArt 3950 optical sensor and supports both Wired and 2.4GHz low-latency wireless via a built-in Nordic wireless chipset. It’s designed to make connection seamless and responsive, no matter the platform.
Here’s how to connect it:
-
Connect the included 2.4GHz receiver into your computer with Original cable.
-
Connect the mouse and your computer with another Type-C cable.
-
Open the driver, turn on the mouse and wait for the LED to flash once and stabilize.
Within seconds, your ER21PRO is ready for smooth, lag-free performance. This makes it an excellent demonstration of how to connect wireless gaming mouse properly for competitive gaming.
7. Maintaining a Stable Wireless Connection After Setup
Once your mouse is connected, keeping a consistent connection ensures long-term performance. Here’s what to do:
-
Keep firmware updated: Manufacturers frequently improve connection stability.
-
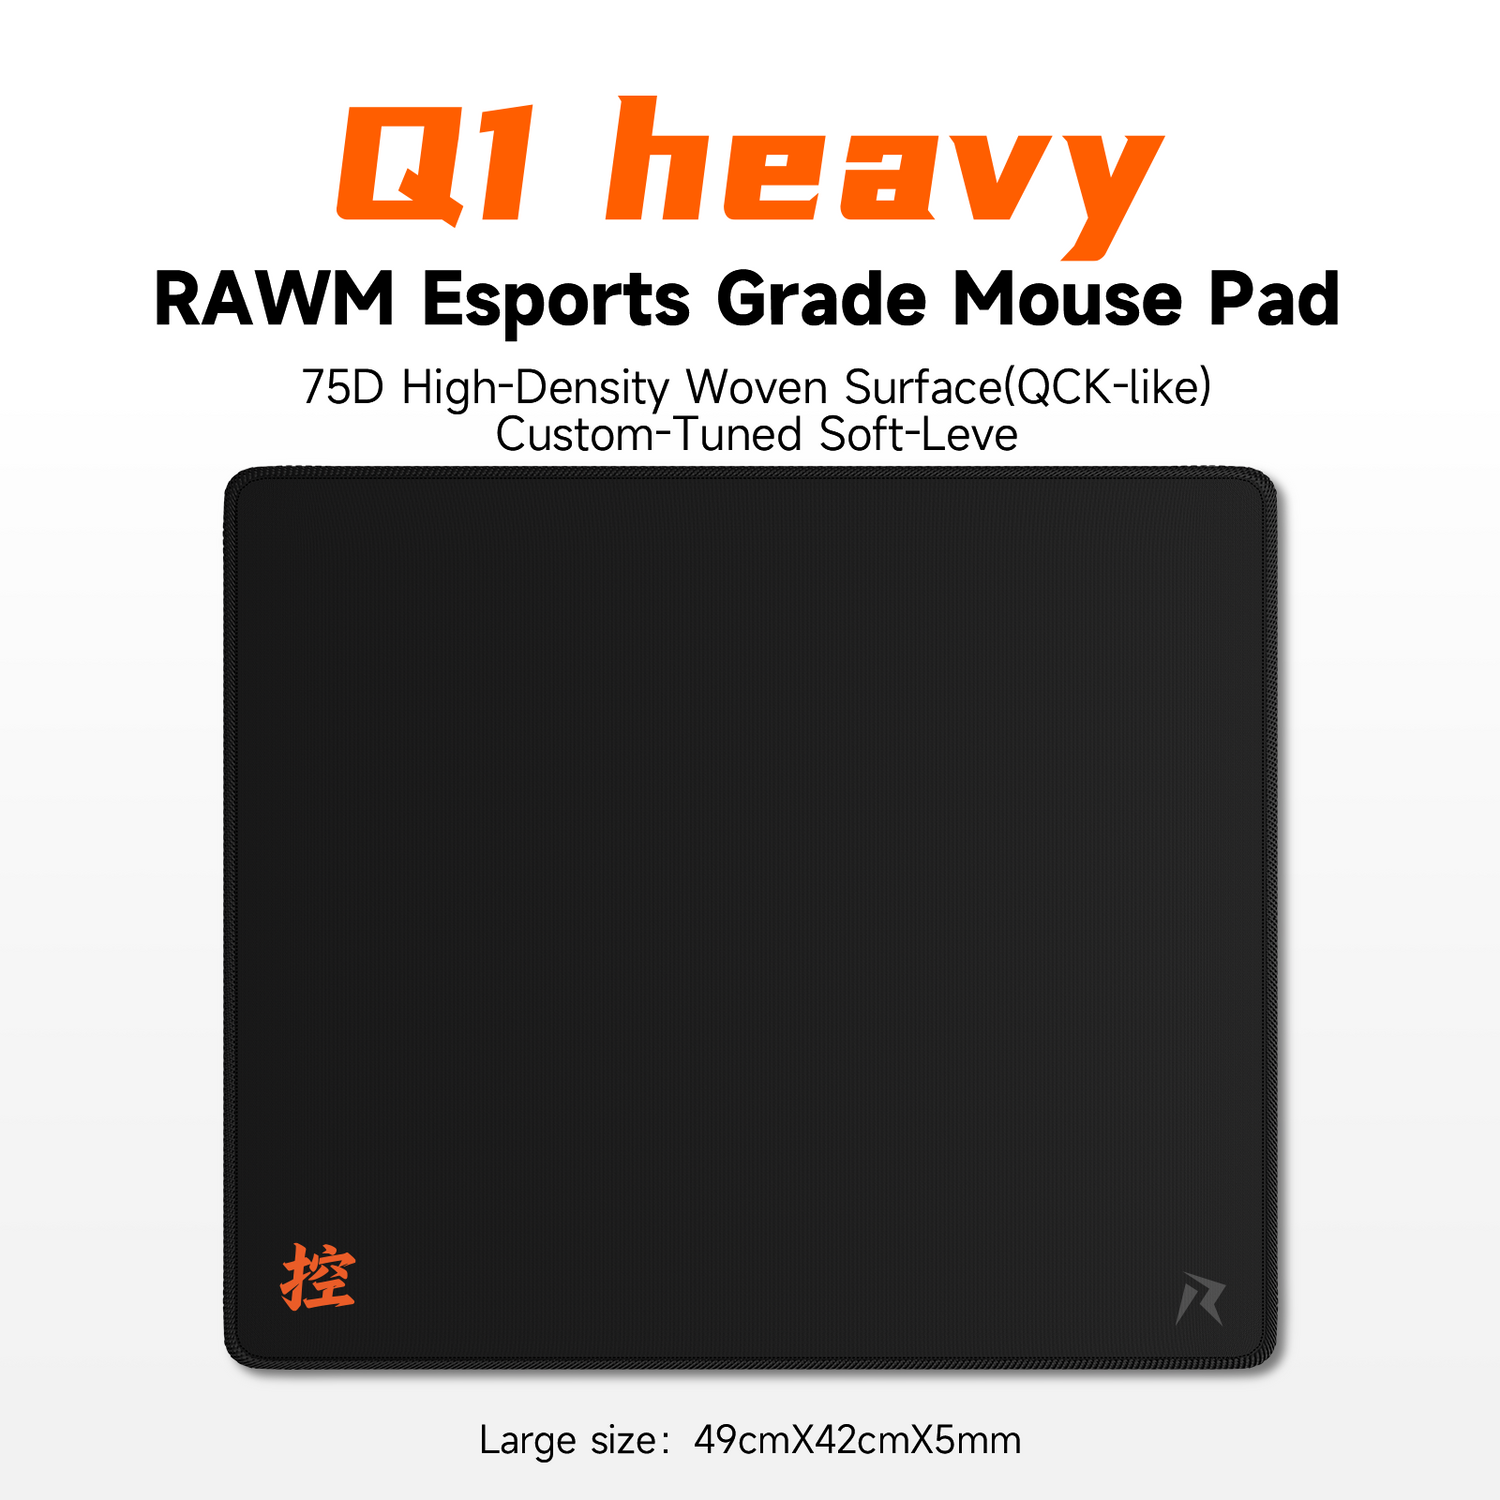
Use a mouse pad instead of glossy surfaces: This ensures accurate sensor tracking.
-
Charge regularly: Don’t let your mouse battery drop below 10%.
-
Avoid USB interference: Keep the receiver away from routers or large metal surfaces.
-
Restart occasionally: If connection drops, power cycle the mouse and receiver.
Doing these steps will keep your mouse operating at peak gaming mouse sensor accuracy and responsiveness.
How to Connect Wireless Gaming Mouse Properly
Learning how to connect wireless gaming mouse properly may seem simple, but doing it the right way ensures optimal latency, tracking accuracy, and stability during gameplay. Whether you’re using a top-tier model like the RAWM ER21PRO or any other high-performance mouse, following these guidelines guarantees that you’re getting the best possible performance from your hardware.
Wireless gaming mice today can perform just as well as wired ones—if you set them up correctly. Once connected and optimized, you’ll enjoy smoother aim, longer battery life, and the freedom of untethered gameplay.
When you first connected your wireless gaming mouse, did you experience any lag or pairing issues? What method (2.4GHz or Bluetooth) worked best for you? Share your experience below!
>>See also How to test sensor quality of your gaming mouse? >>>>>


39 comments
I really enjoyed reading this blog post about how someone can properly connect a wireless gaming mouse to his/her Mac, Windows PC, Gaming Laptop, Stream Deck or Console (PS5/Xbox). I feel the post is very informative. And if I ever get a wireless gaming mouse, I’ll definitely refer back to this post so I can make sure that I’m setting it up right.
I love having a wireless mouse.
excellent
Insightful! Thanks for the guide on how to use the wireless mice properly!
Looks great